
Search By Year,Make and Model
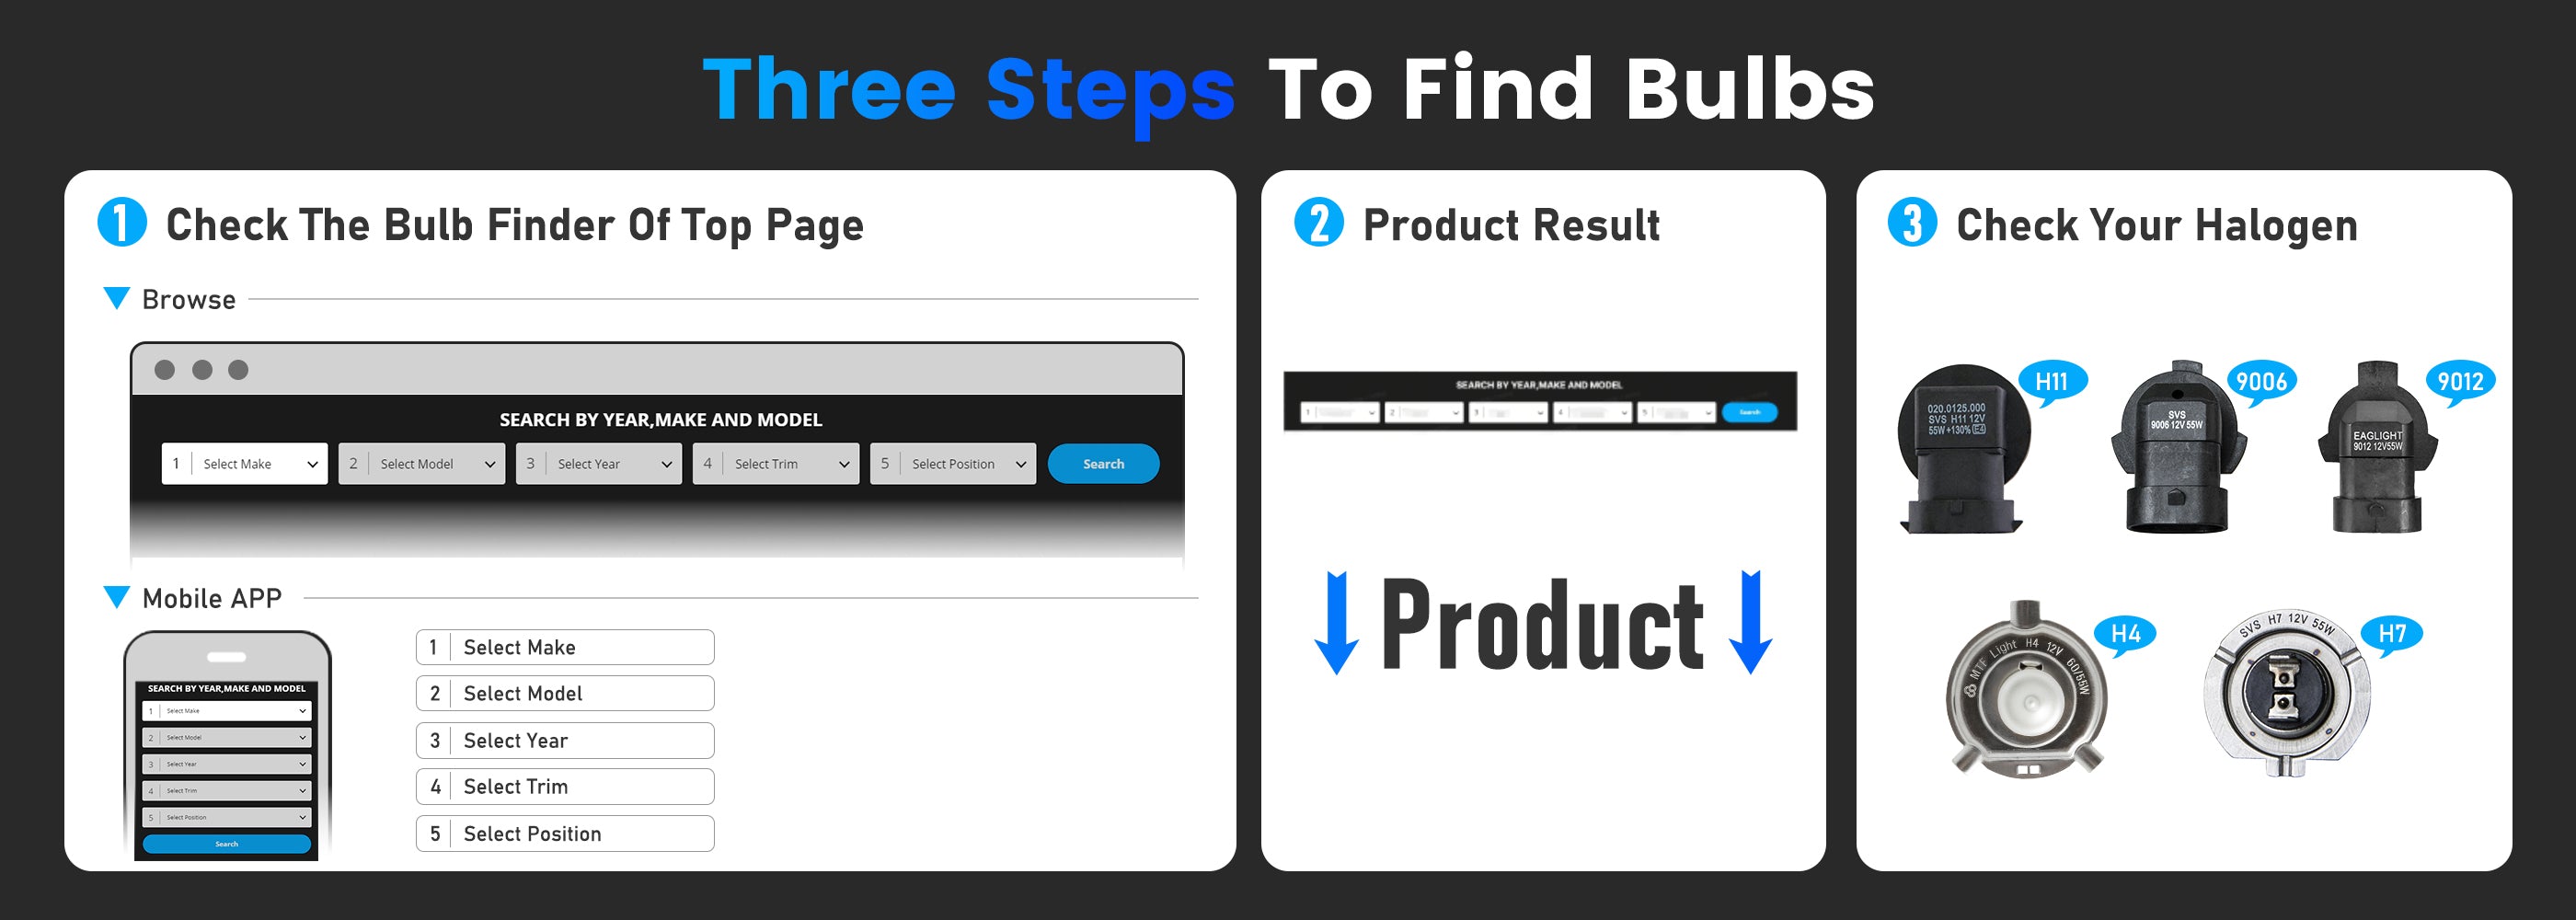
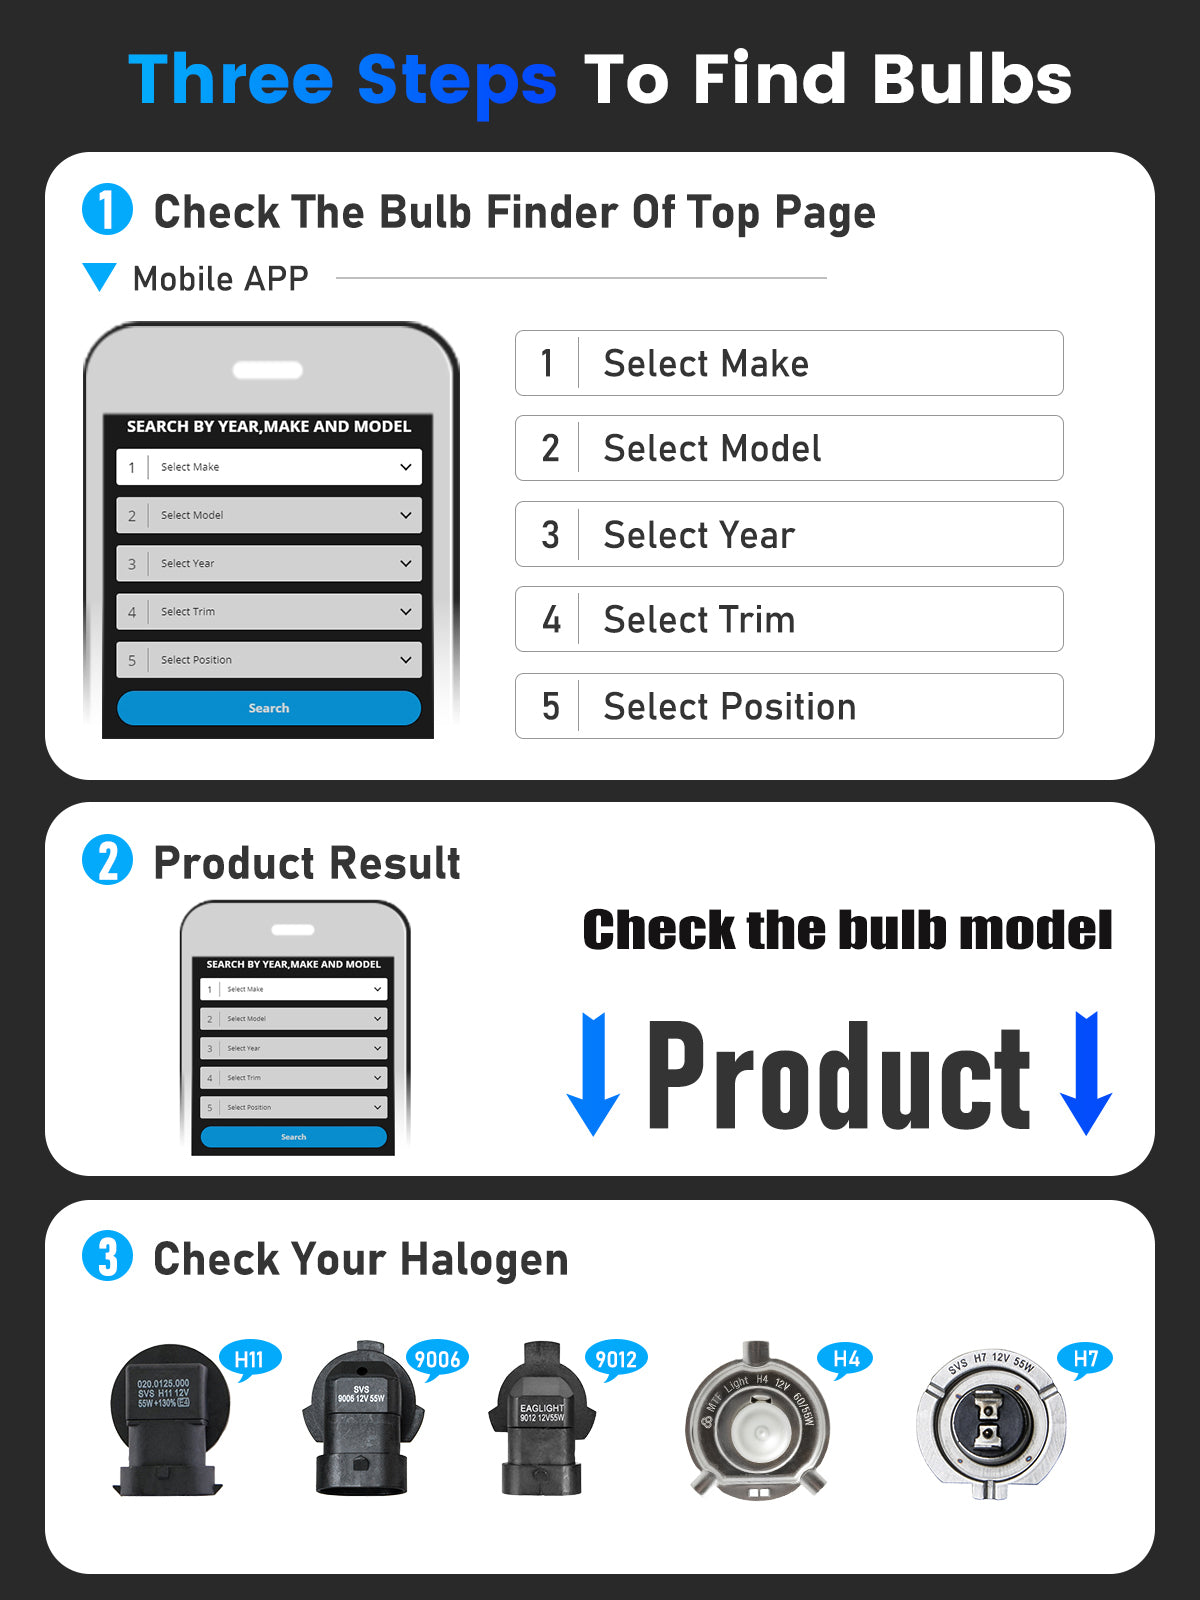
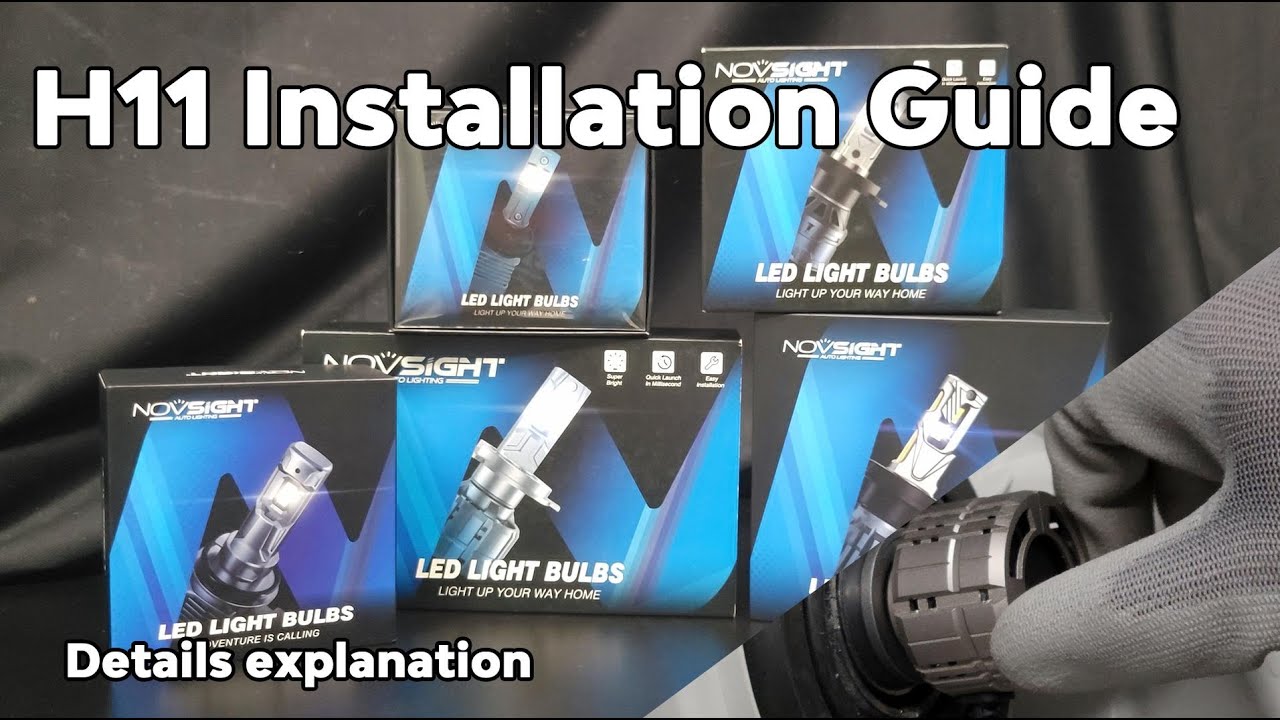
How do I install the H11 H8 H9 LED bulbs?


Let customers speak for us

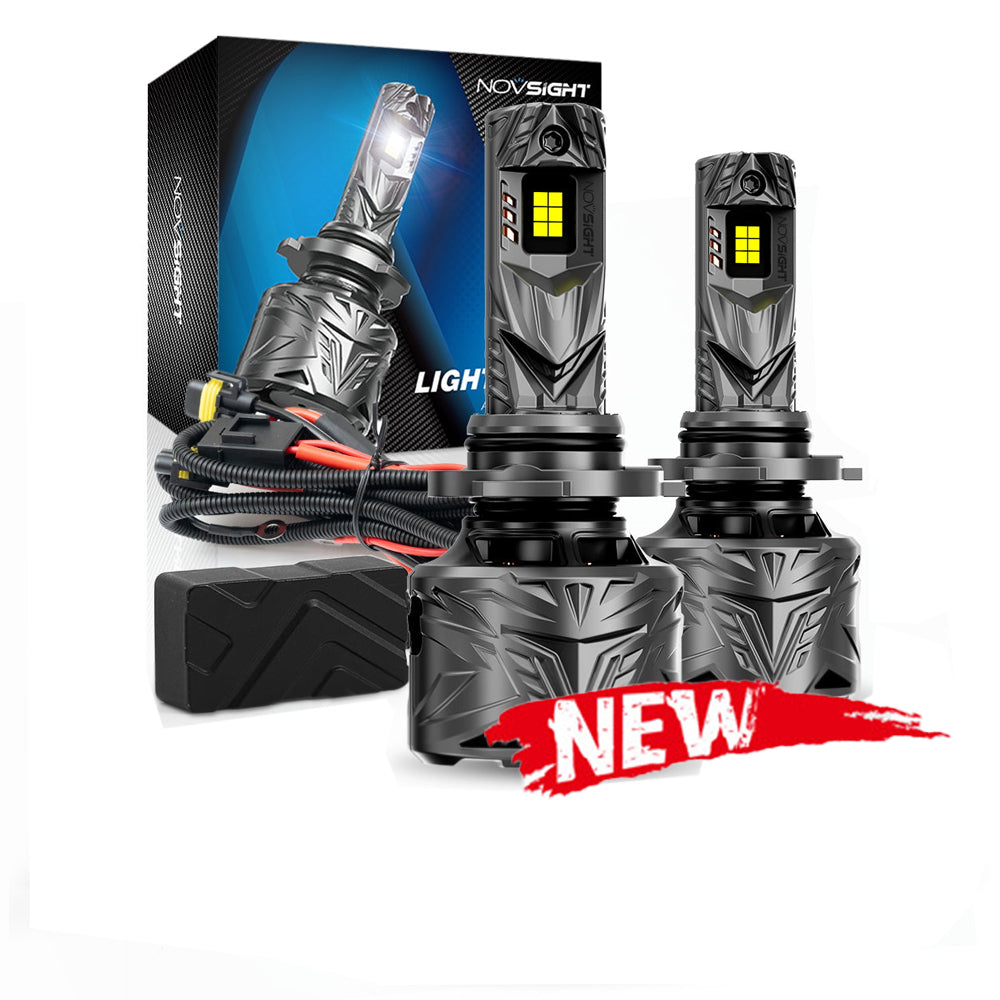
I'm impressed by the sleek design of this eco-friendly car light. The unpainted aluminum finish gives it a modern look that enhances the overall aesthetics of my vehicle. The installation was hassle-free, and the brightness is exceptional. Highly recommended

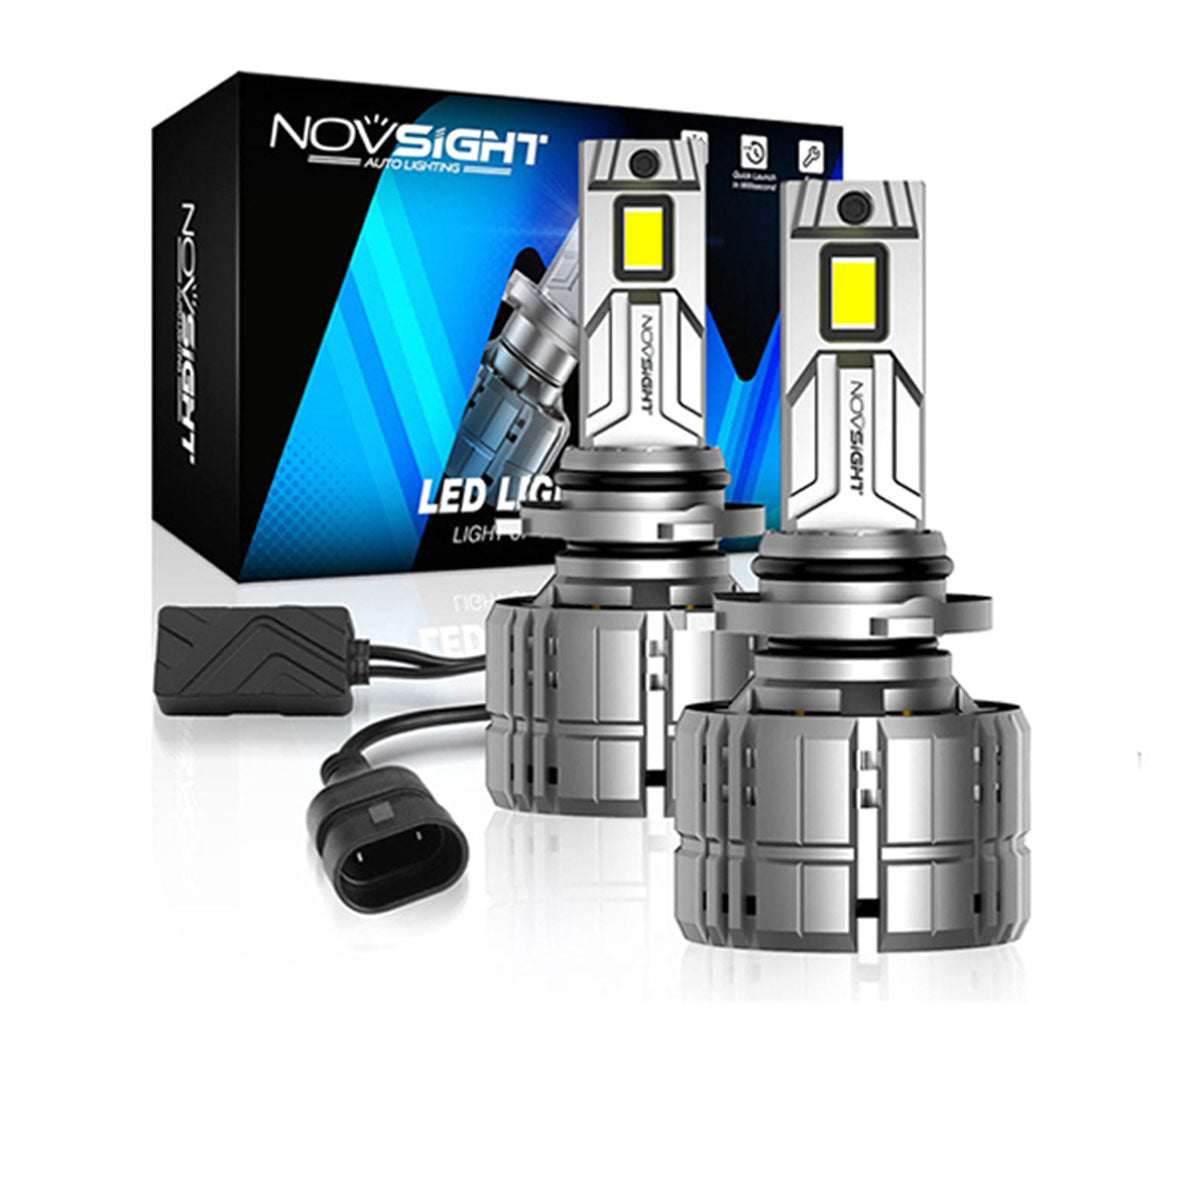
Excellent brighter N60 Ultra LED than this I haven't seen yet with built quality & performance.
Received free gift's Key Ring & electric car Holder I had never seen this product before.
Don't think for buying this N60 Ultra LED my personal opinion.
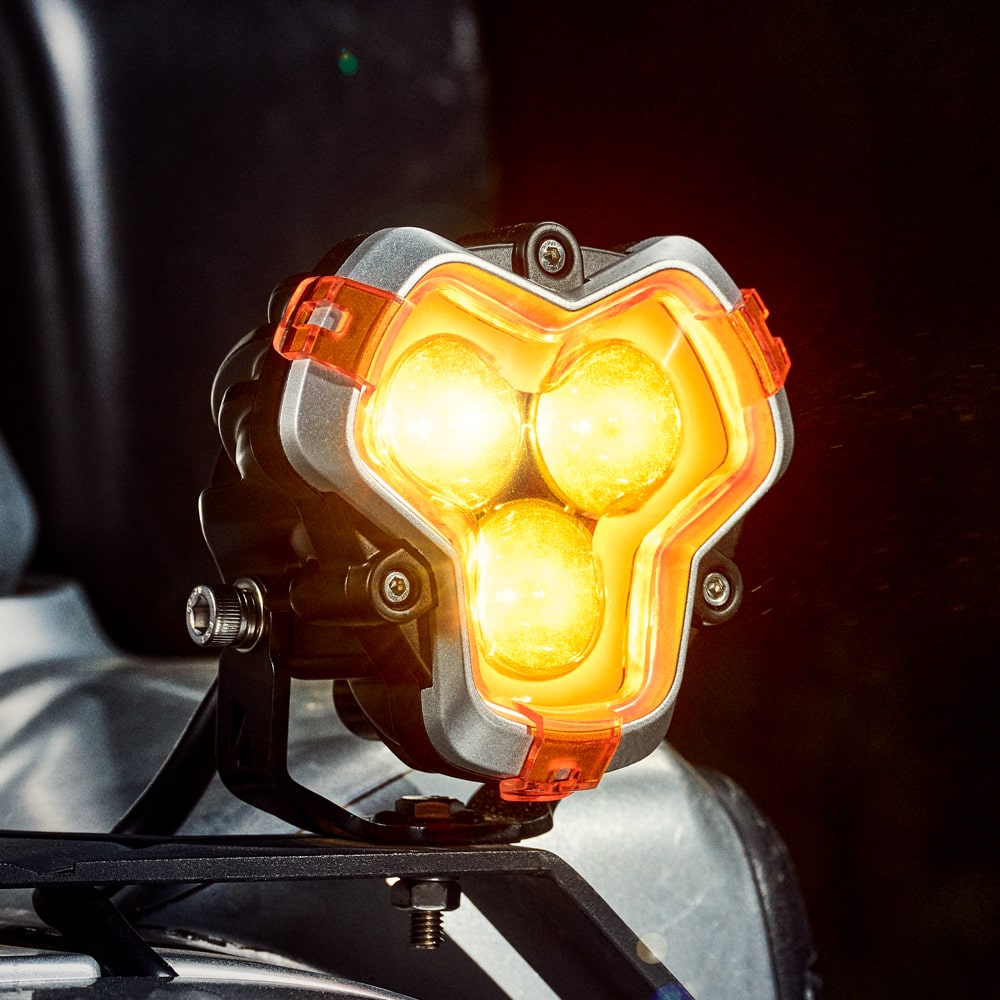
Best LED for off-roading.

Very pleased with My lights. Well packaged and install was straight forward.
Thanks for an outstanding product at a reasonable price point.

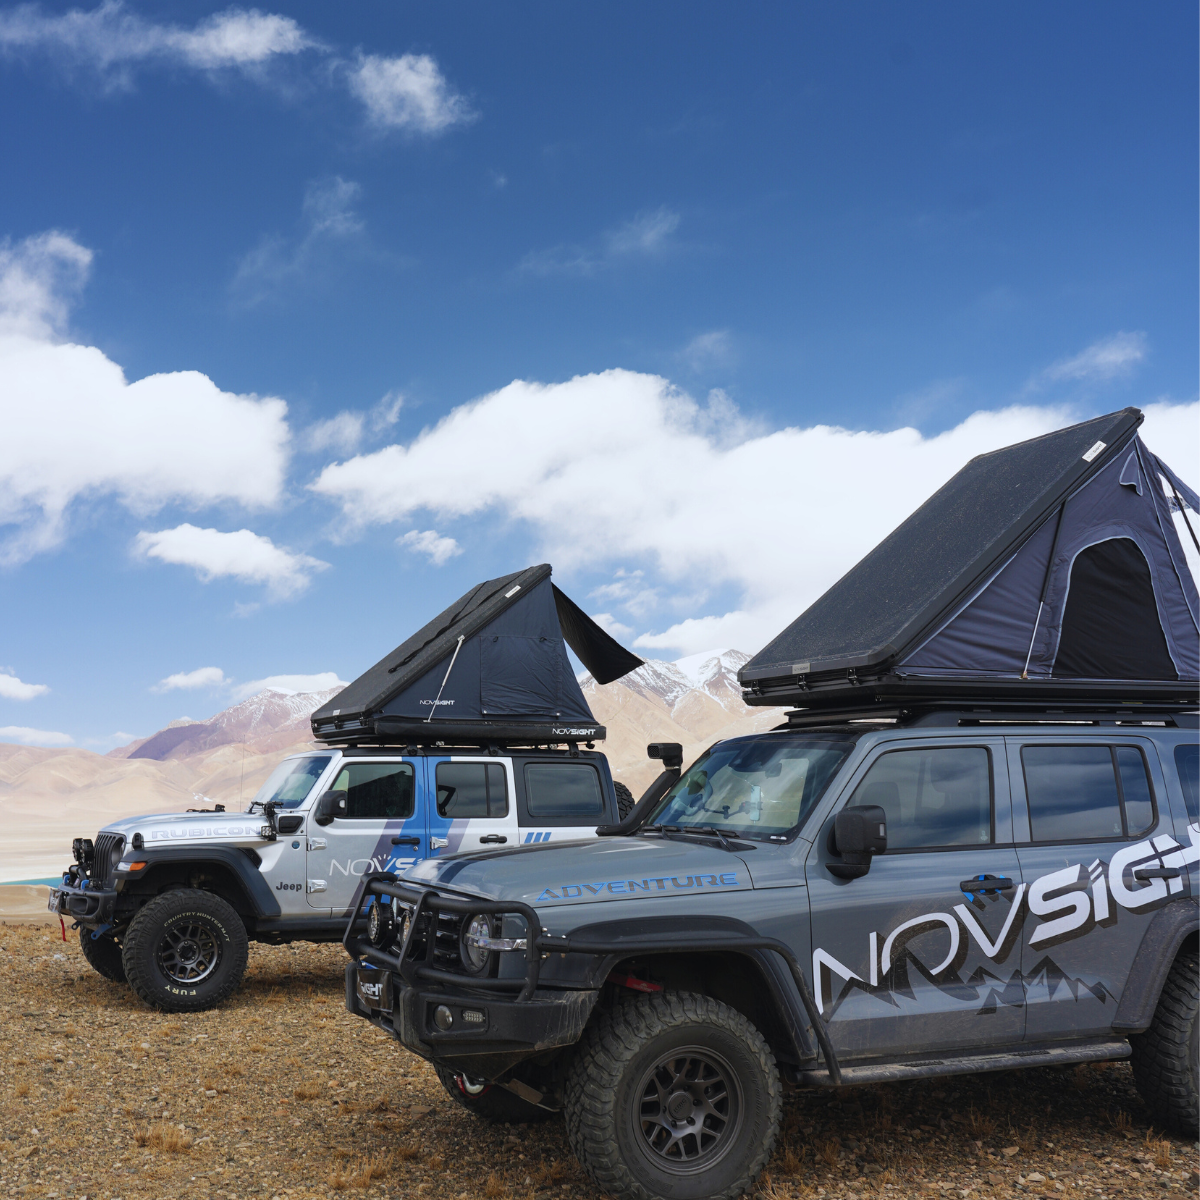
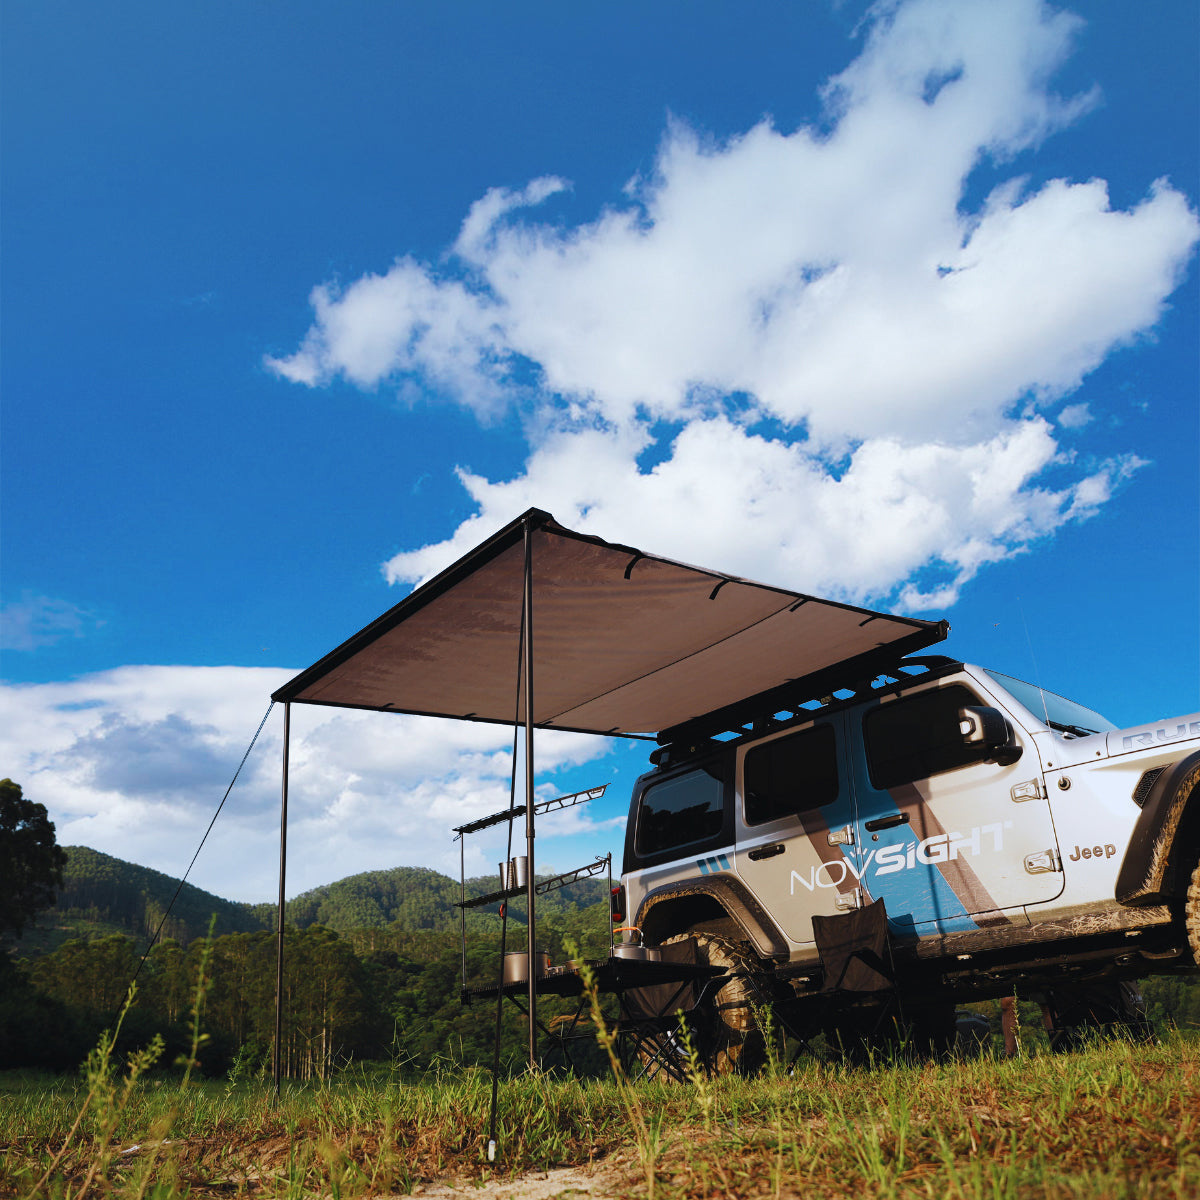
Awesome tent for family camping. We bought this tent for our family camping trip and we had a blast. It was big enough for us and our two kids, and it had plenty of room for our gear. It was very easy to open and close, and it stayed dry and warm inside. We loved the skylight and the awning, they added a nice touch to the tent. It was an awesome tent for family camping.I really like the design of its transparent window, which allows me to see the scenery outside the window clearly, even if I close the window, when I sleep, I can cover it with a cloth, it's great.

Good side awning for the price. I bought this side awning for a camping trip with my friends and it worked well for us. It was easy to install and it provided enough shade and cover for our chairs and table. It was not very sturdy or fancy, but it did the job. For the price, I think it was a good deal.
This tent in comparison to those out there for this price is well worth it. i wanted a good tent with the overhang and option to have the annex extend past the ladder. I have slept in it a few times and have had no need to improve the matress for sleeping. It is very comfortable as is. The company was on the ball with the shipping and purchase. I was contacted by phone by company and shipping company before getting the product. I was very happy with customer service.
Great tent for solo travelers. I love this tent, its perfect for me. I travel alone a lot and this tent makes it easy and fun. It fits on my car roof and it doesnt affect my gas mileage. Its also very cozy and secure, I feel safe sleeping in it. It has everything I need, like a built-in ladder, a storage bag, and a LED light. Its a great tent for solo travelers like me.
Definitely a good purchase, I have put it on the side of my small teardrop trailer. Easy set up, Would recommend for anyone who wants an easy product that will last in the desert or forest.

The packaging was such a surprise I didn't want to open them. Everything about them seems to be first class. I have installed them on my truck but haven't adjusted them in the dark yet. The lead from the lights to the next junction was generously long but the length of lead for the switch was difficultly short. Over all I am very much please!

Purchased these LED pods
For my truck to replace my existing fog lights.
These are bright and wide angle coverage. Worth a try
Very thrilled with the performance of this environmentally friendly car light. The unpainted aluminum design not only minimizes environmental impact but also gives it a unique and stylish appearance. It's super bright, making nighttime driving safer. The packaging was eco-friendly too

Perfect lights for mounting on my Vulcan 900 Cobra engine guard. Impressed with this company's offerings. Very solid lights with sturdy mounting hardware and easily adjustable while still holding tightly. They do not need to be overtightened to get them to stay in adjustment. No worry of stripping or breaking anything. Pigtail on the harness is very long. Plenty of light for daytime running lights with a good flat white pattern, but not as flat and spread as fog lights. I would recommend.

We bought it to get off the ground while camping while still being able to hit the backcountry without a trailer.
This thing was easy to install and has stood the test of time with a lot of use over the summer. No signs of fraying or tearing anywhere and it's very comfortable!
The only complaint is that it's a bit heavier than tents we've had in the past, but it's solid, no doubt about it.
Loved this and bought accessories and some other equipment to go with it.

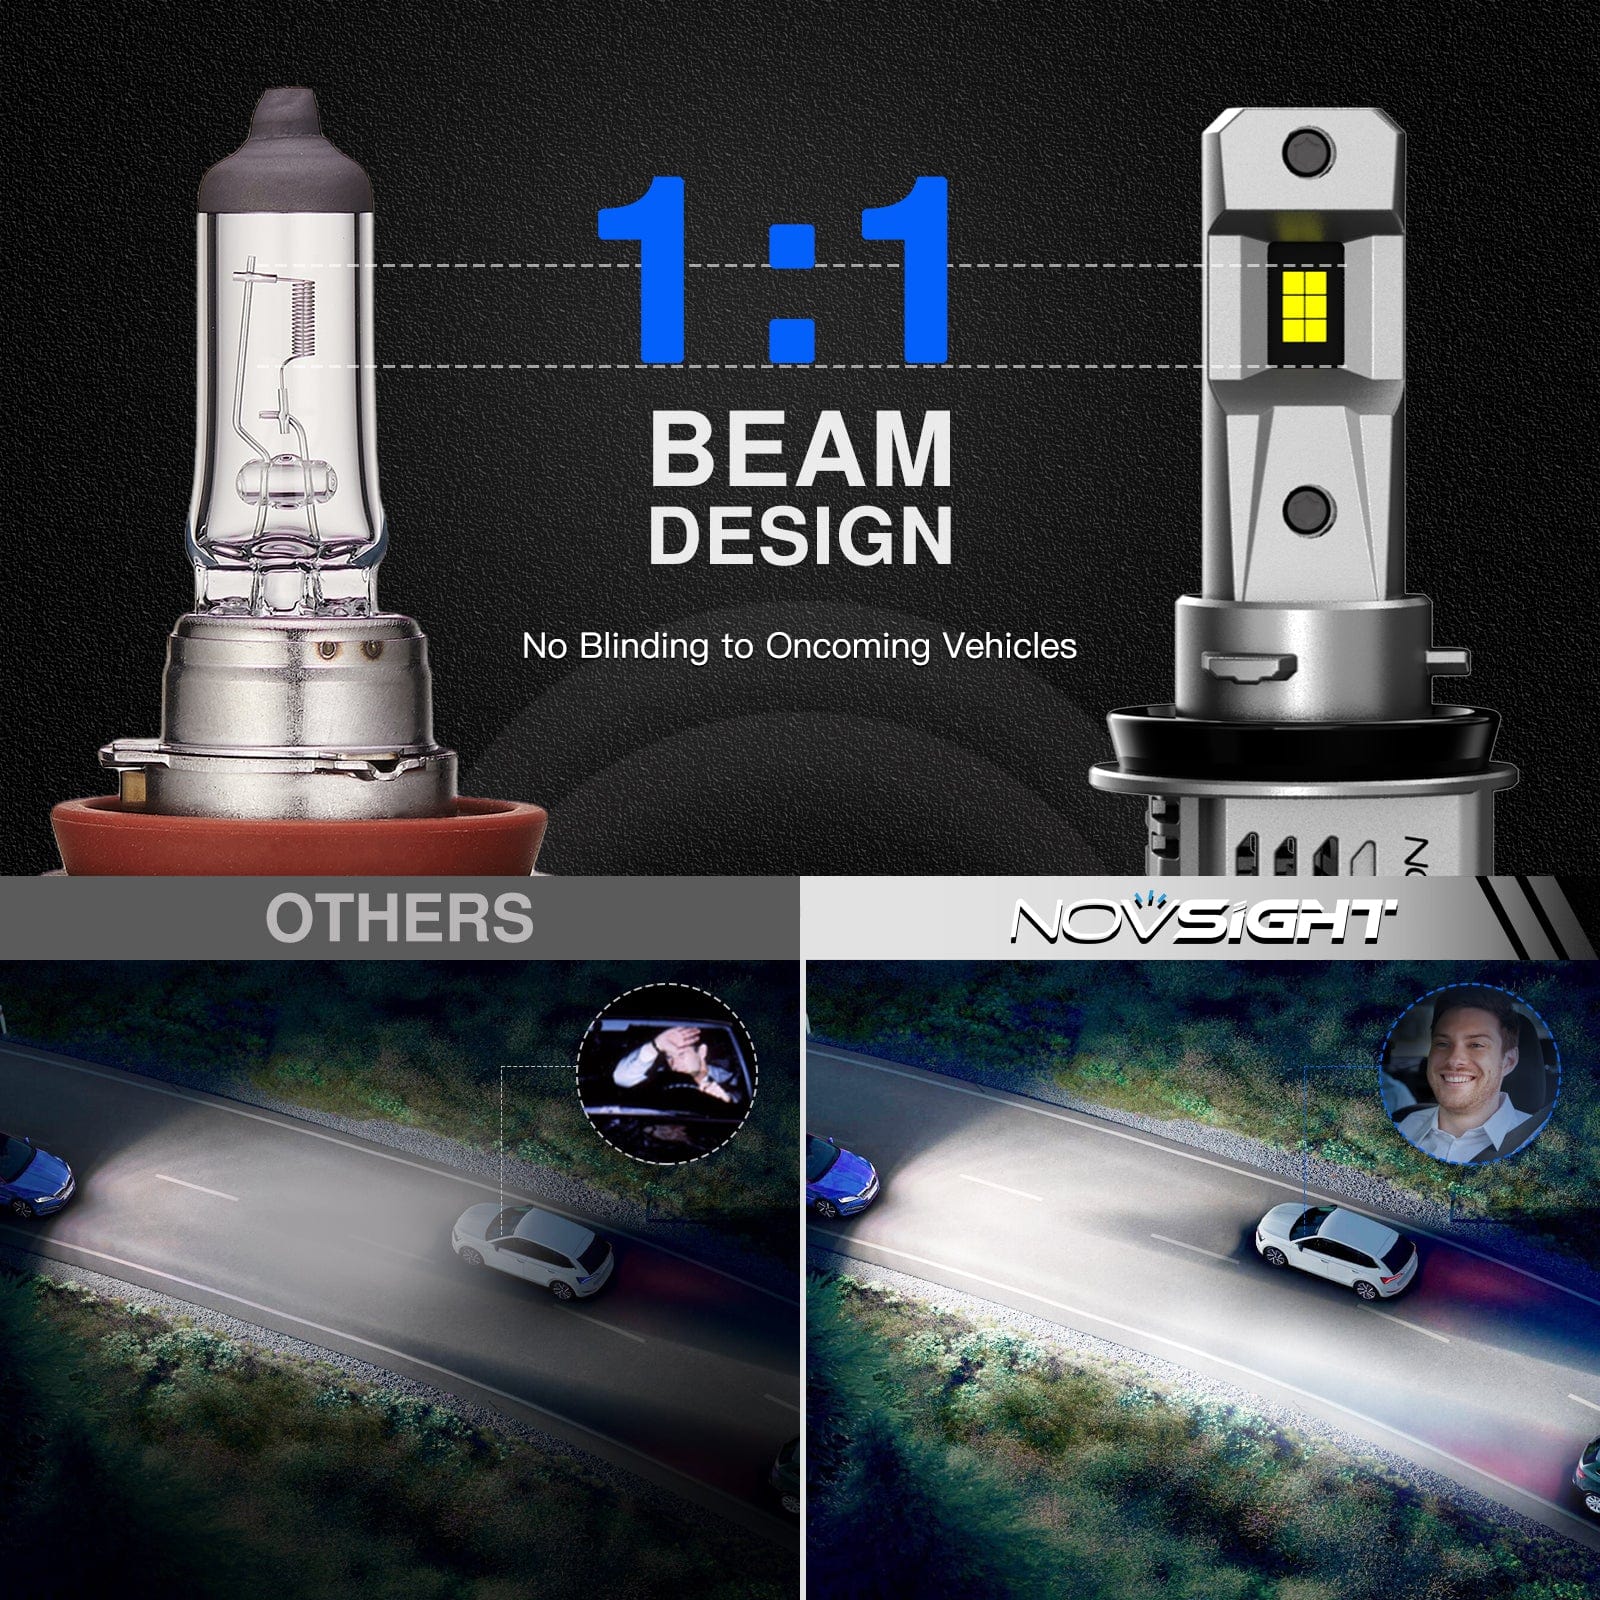
Very small and bright, but not blinding to drivers in front of you. install took about 5 or 6 minutes, the way they came packaged lined up perfect when put in place and used the wire ties to take up the slack in the cables. simple and has been installed and working great for a little over a month now.

These flood lights are blindingly bright, and appear to be well made. I mounted them as ditch lights and they look great. So far they have proven to be waterproof, hopefully that holds up long term.
Note that a wiring harness is NOT INCLUDED. That wasn't a problem for me since I installed these to replace an existing set of ditch lights.