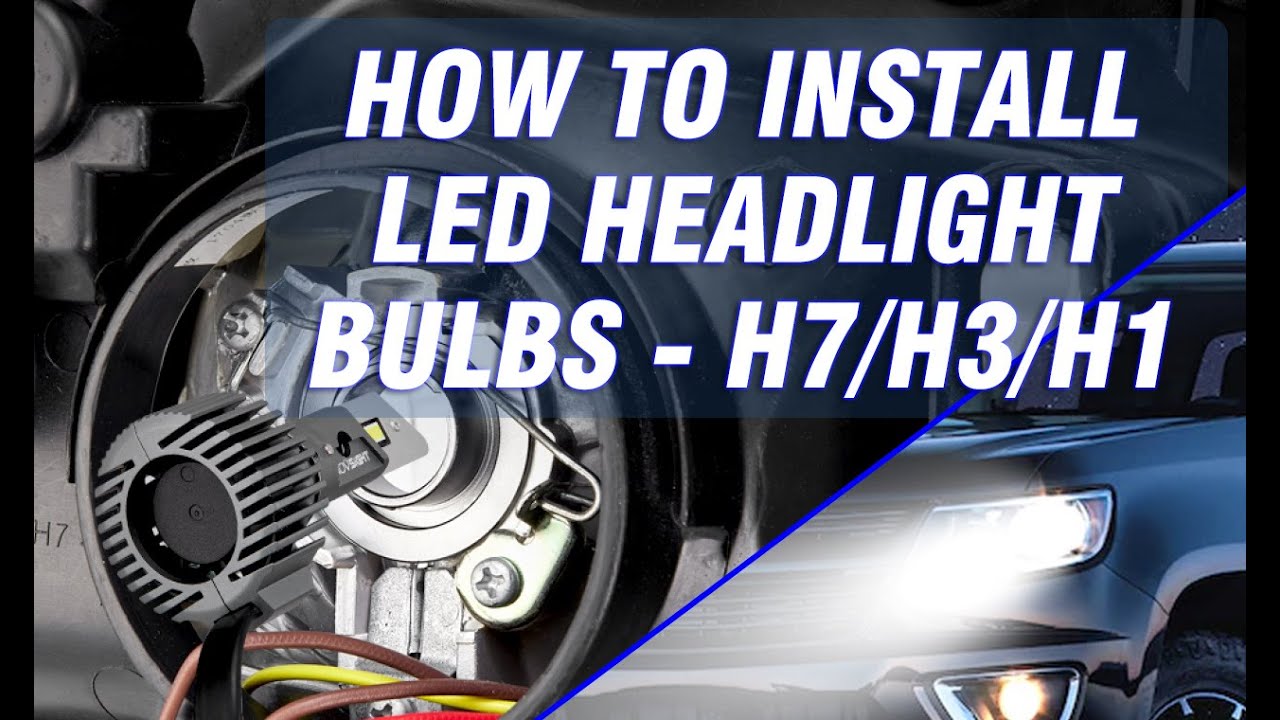
H1/H3 LED bulbs installation Guide

Installing H1/H3 LED bulbs in your vehicle's headlights is a straightforward process that can significantly enhance your lighting system. Here's a step-by-step guide to help you install H1/H3 LED bulbs:

Tools and Preparation

Tools Needed:

  • Screwdriver (flat or Phillips, depending on your vehicle)
  • Gloves to protect your hands and prevent oils from getting on the bulbs
  • (Optional) Socket wrench set

Preparation:

  • Ensure your vehicle is parked on a flat surface and turned off.
  • Open the hood and disconnect the battery to prevent any electrical issues during installation.

Step-by-Step Installation Guide

Step 1: Access the Headlight Assembly

Locate the Headlight Assembly:

Refer to your vehicle's owner manual to find the exact location of the headlight assembly. This is typically at the front of the vehicle, behind the headlight lens.

Remove Protective Covers:

Some vehicles have protective covers or dust caps behind the headlight assembly. These covers can often be removed by twisting or unclipping them.

Step 2: Remove the Old Bulb

Disconnect the Power Connector:

Locate the power connector attached to the old H7 bulb. Gently press the release tab and pull the connector away from the bulb.

Remove the Bulb:

Twist the H7 bulb counterclockwise (usually about 1/4 turn) and pull it out of the headlight housing.

Step 3: Install the New LED Bulb

Insert the New LED Bulb:

Align the new H7 LED bulb’s pins with the notches in the socket. Insert the bulb into the socket.

Twist and Lock:

Rotate the bulb clockwise until it locks into position.

Reconnect the Power Connector:

Attach the power connector to the new LED bulb. Ensure it clicks into place securely.

Step 4: Test the Bulb

Reconnect the Battery:

Reconnect the vehicle’s battery if it was disconnected during the preparation step.

Test the Bulb:

Turn on your vehicle’s headlights to test the new LED bulbs. Ensure both low and high beams are functioning correctly and that the bulbs are properly seated.

Step 5: Reassemble and Finalize

Replace Protective Covers:

Reattach any protective covers or dust caps you removed earlier.

Close the Hood:

Close the vehicle’s hood and perform a final check to ensure everything is secure and properly installed.

Additional Tips

Adjust the Headlight Beam:

After installing new bulbs, you may need to adjust the headlight beam alignment to ensure proper illumination and avoid blinding other drivers. Refer to your vehicle’s manual for instructions on how to adjust the headlight aim.

Check for CANbus Compatibility:

Some vehicles may require CANbus decoders to prevent flickering or dashboard error messages. If your new LED bulbs are flickering or causing errors, you may need to install a CANbus decoder.

Handle with Care:

Avoid touching the LED chips or the glass part of the bulbs with your bare hands. Oils from your skin can damage the bulbs. Use gloves or a clean cloth when handling the bulbs.

Consult Your Vehicle Manual:

Always refer to your vehicle’s manual for specific instructions and precautions related to your make and model.

Conclusion

Installing H1/H3 LED bulbs is a relatively straightforward process that can enhance your vehicle’s lighting significantly. By following this guide and taking necessary precautions, you can ensure a successful installation and enjoy the benefits of brighter, more efficient LED headlights. If you encounter any difficulties, consult your vehicle’s manual or seek assistance from a professional.

If You Need Video Guide:

Watch the Novsight Headlight bulb install guide Video on the YouTube

If you are not sure whether the H1/H3 will be suitable for your vehicle or not, you can check with Novsight vehicle bulb finder on the top bar.

Contact us: service@novsights.com

Filters

Product type
Filters
Sort by:
Product type

How do I install the H1/H3 LED bulbs?