

Search By Year,Make and Model
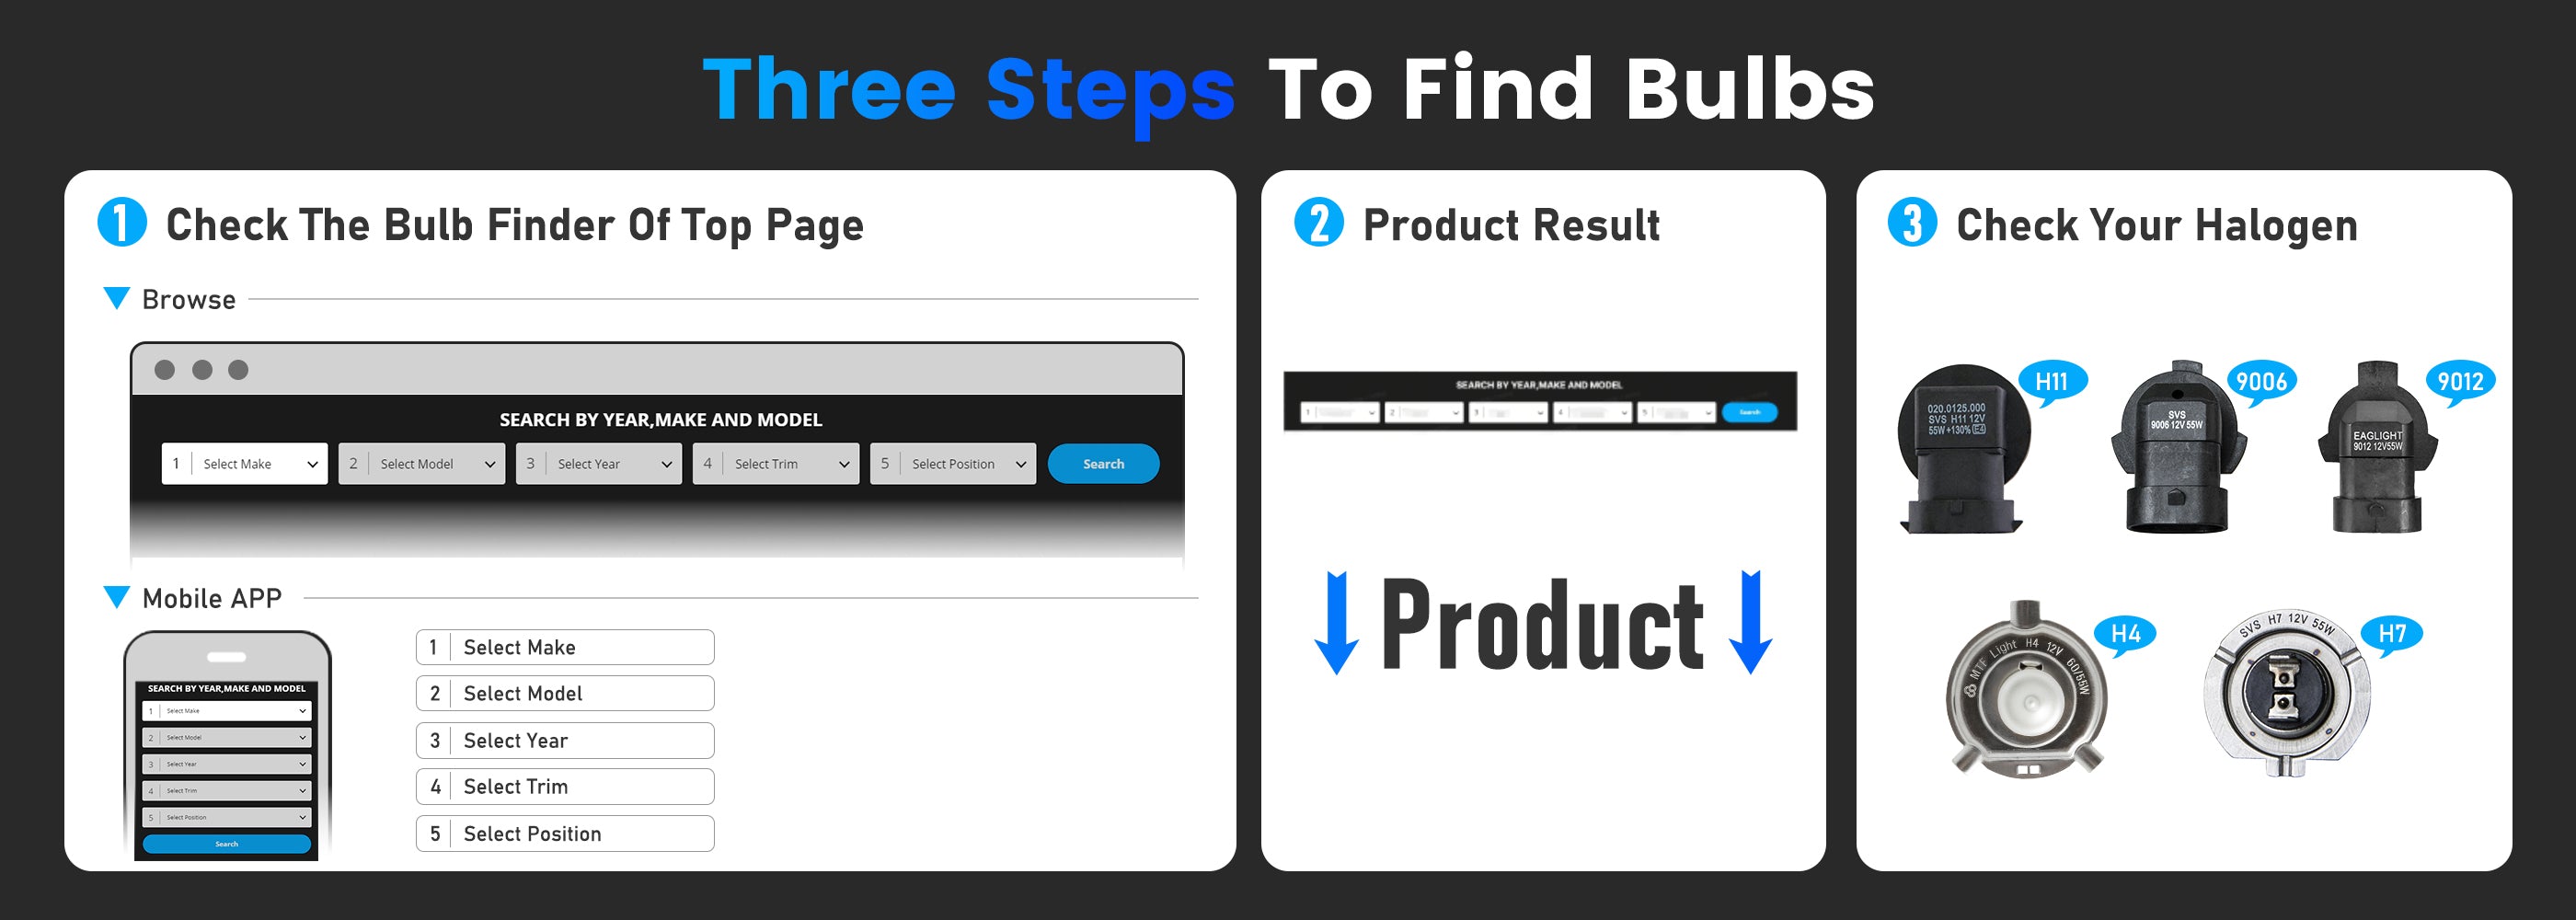
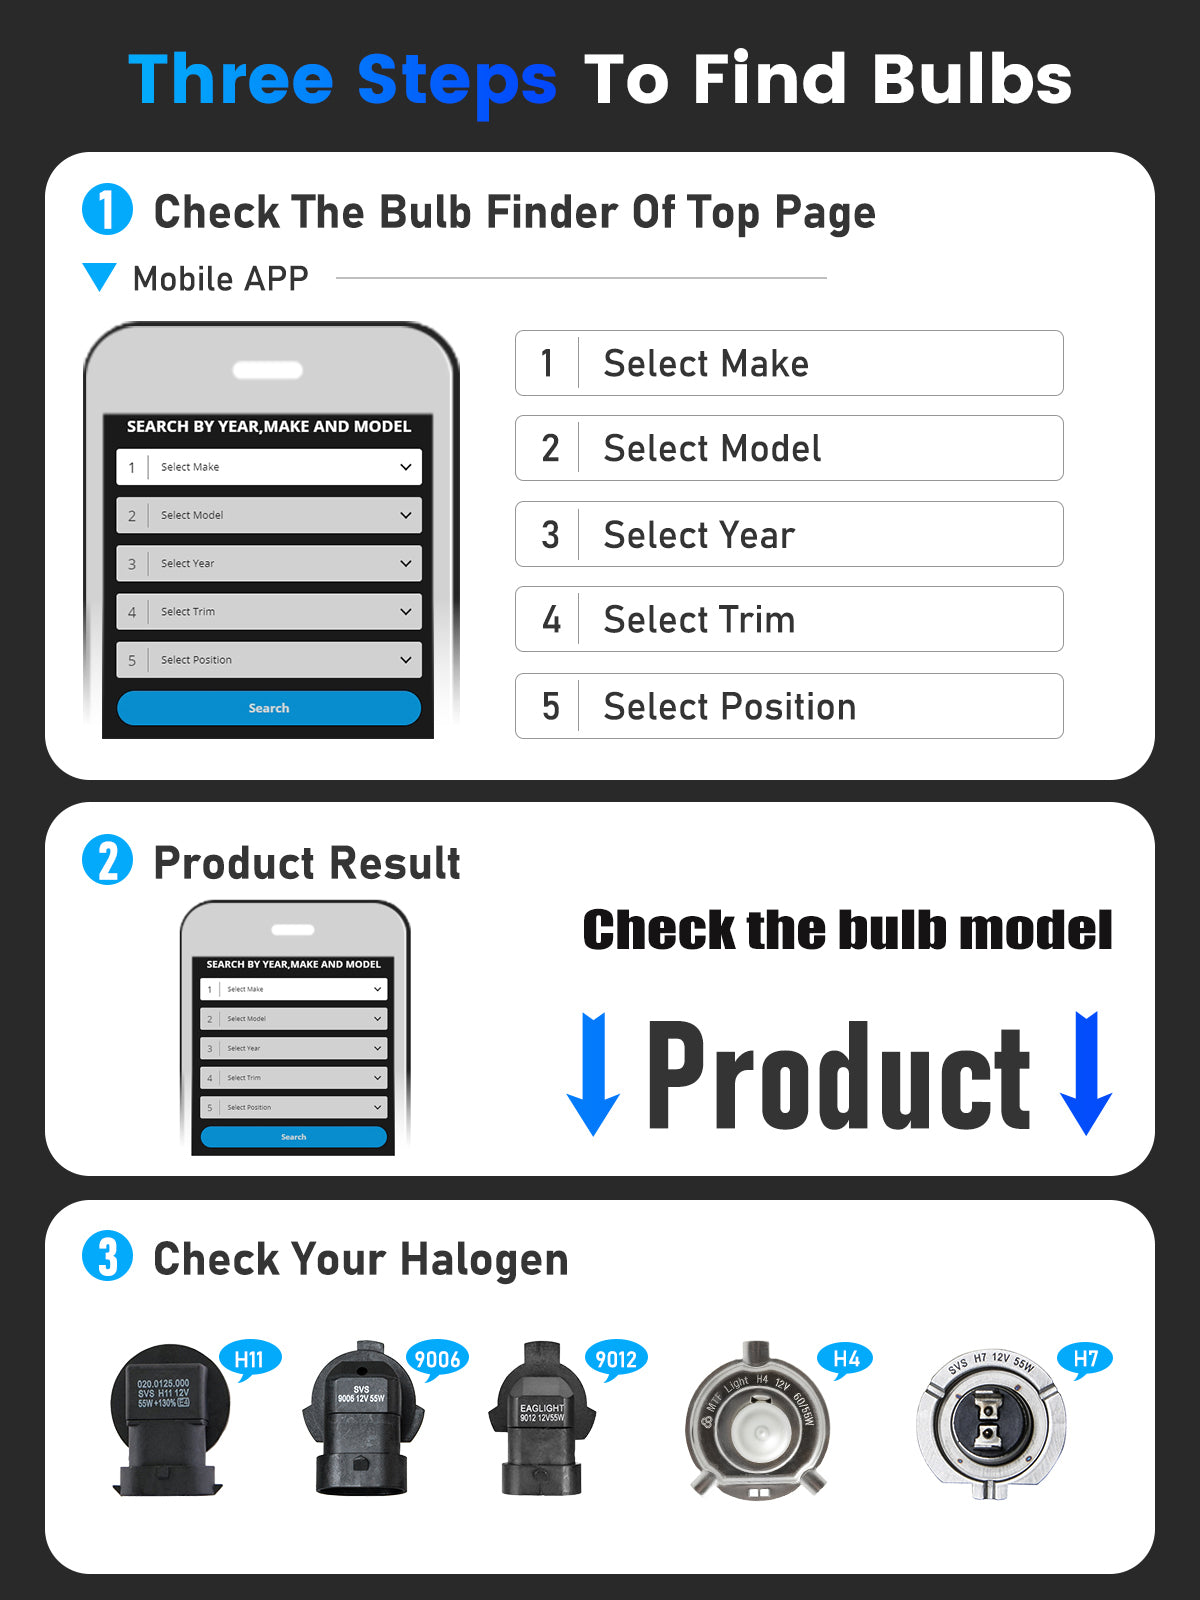
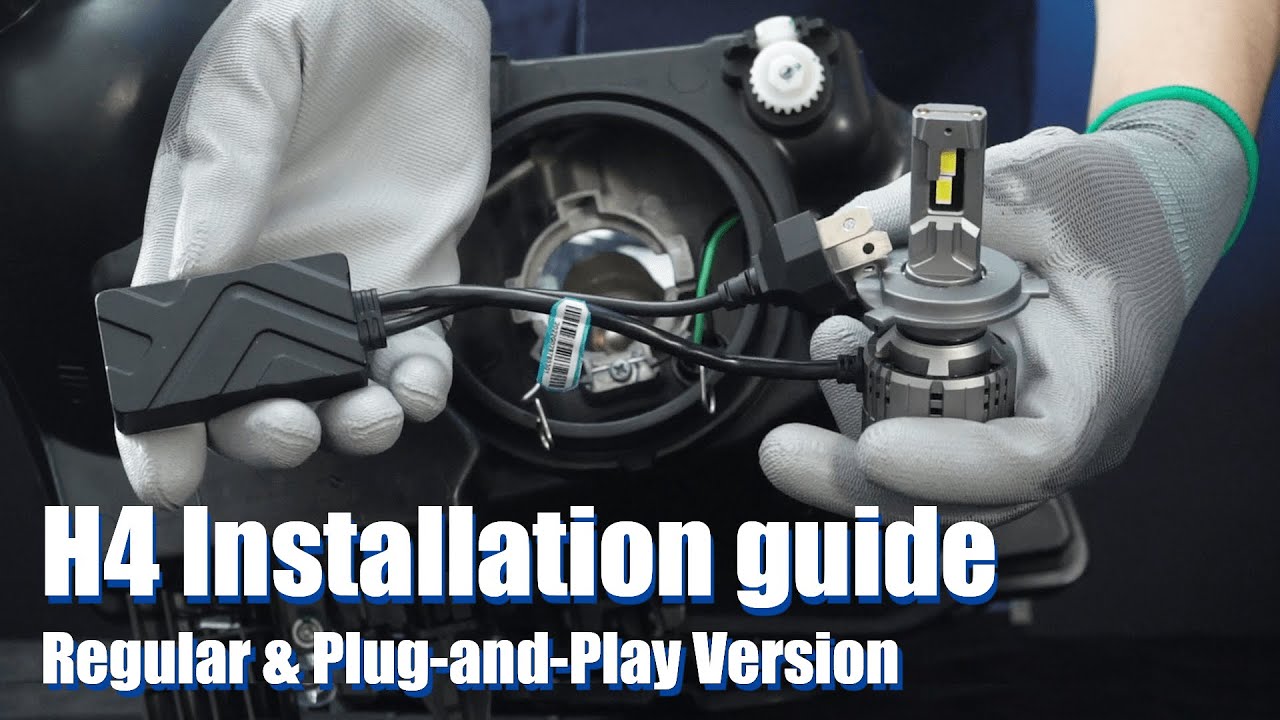
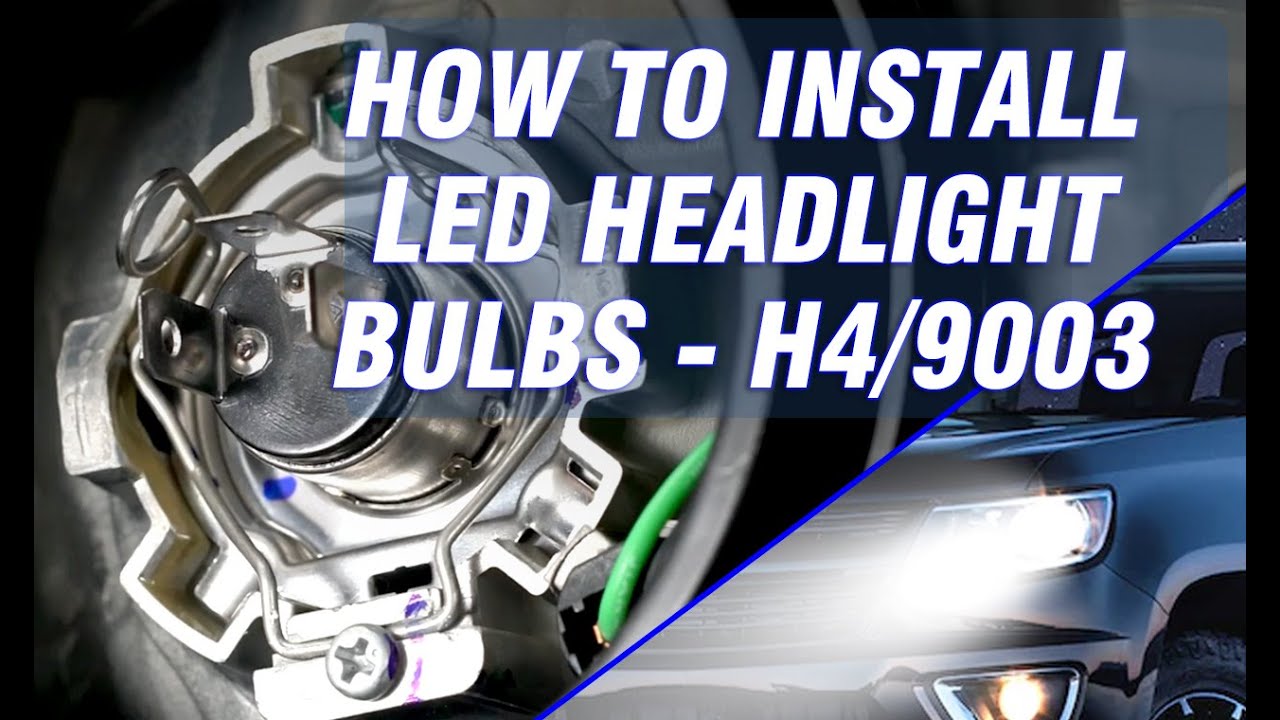
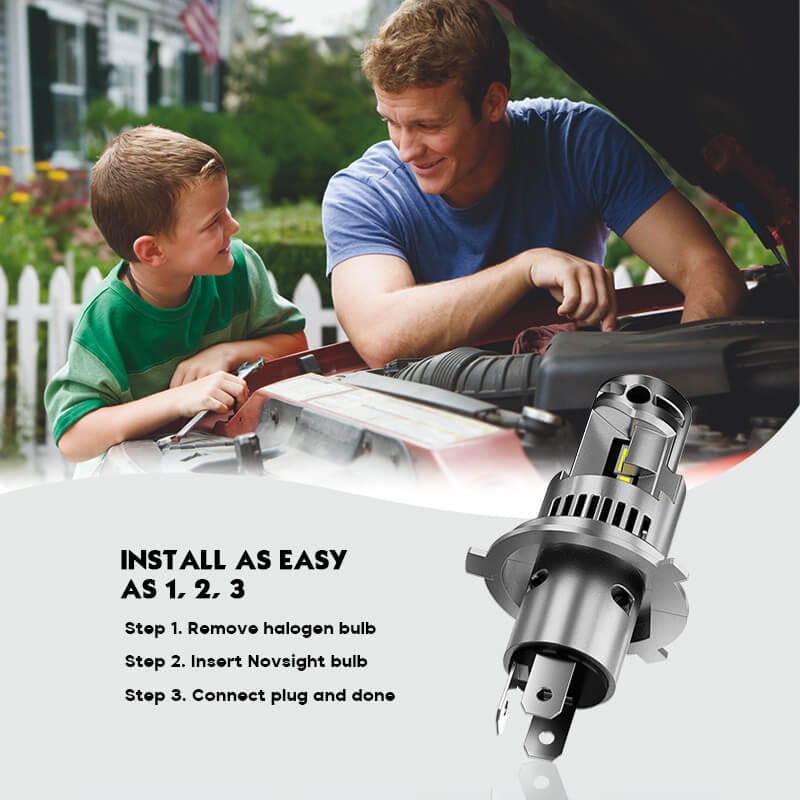
How do I install the H4 9003 HB2 LED bulbs?
Filters
12 products


Let customers speak for us

It has an amazing quality and the looks are amazing, definitely a must have in your 4wd

After trying 4 different LED lights from Amazon $35-$60/pair... I found these N70s on NovSight, all I can say is these are POWERFUL!
I have them in a 2014 Chevy Cruze and they are so powerful you can faintly see them slightly at 3PM during peak light.
At night, it's as if someone placed a very direct spotlight in front of me.
Adjusted these lights make the road appear in Day Mode without blinding other drivers.
RECOMMEND USING ONLY IN PROJECTOR HEADLIGHTS!
P.S. Shipping was much faster than anticipated, it told me 4/18 and delivered 4/11. VERY happy with this product, best $150 I've spent in a while.
---->(In the DAYTIME front photo, you can see the Amazon bulb (left bulb) vs the N70 (right bulb). A night & Day difference.)

This is a great test. It sets up in just a few minutes. There is no solid bottom, so condensation under the mattress isn't an issue. The mattress is comfortable as well. I just wish I could keep my heavy sleeping bag inside of it while it's stored.

These lights have a very solid construction and are very bright. Quick delivery and overall very satisfied.

My name is Tim Hendrickson and I just want to give everyone my experience with novsight headlight bulbs . First of all excellent customer service and fast shipping. I have attached pictures of my novsight N60 Ultra Series LED H13 headlight bulbs in my truck. I have bought headlight experts head light bulbs and xenon headlight bulbs and I am here to tell you novsight is the best in my opinion. Extremely bright. If you are second guessing it stop just do yourself the favor and place your order and you can thank me later. I am speaking on the N60 ultra series but I have no doubt that all their headlight bulbs are amazing. They come very well packaged in a nice box . I am very pleased and definitely a on going customer. Hope this helps anyone looking at giving nova sight a try .

Great tent and matches my needs perfectly and the look I was going for.

100/10 I can actually see the road again. Easy installation. No need to replace the entire headlight assembly. It comes with everything you need and is plug and play

Item came promptly and as described, clearly labeled which lights were the 9005s and 9006s, and I was able to use them to replace my High Beam and Low Beam headlights on my Toyota Corolla. Glad to stop using the Halogens and having to replace lights every year and a half and have a better long-term solution that is more energy-efficient.

It’s hard to stay elusive with these uniques and impressive Off-road lights. The DLR’s give off a supernatural glow while the main lights make it hard for anything to hide in the shadows! Love these lights!

The lights are so nice and bright. Was also very easy to install. Must have the anti flickering resistor.

Design is great and the lighting exceeded my expectations. Installed on 2025 Jeep Mojave X. Orange is a perfect match.

Great quality, I really like them and they look great, I’m definitely buying more of this products

These lights were easy to install in a 2018 CRV. These lights are very bright and it was working great with no issues. I am happy with the beam coverage and color. The throw and coverage of the high beams are impressive, but as I drive primarily in the city, I haven't used them as much.
Super bright led bulbs. Highly recommend..

My second set of Novsighto bulbs - 2020 Ram Big Horn