9004 HB1 Bulb Installation Tutorial
Table of Contents
- What the 9004 HB1 Halogen Bulb Looks Like?
- What Are the Common Vehicle Models of 9004 HB1?
- Should You Upgrade to LED Headlights?
- Step-by-Step Installation Guide
- How Do I Install 9004 HB1 Bulbs? - Video Guide
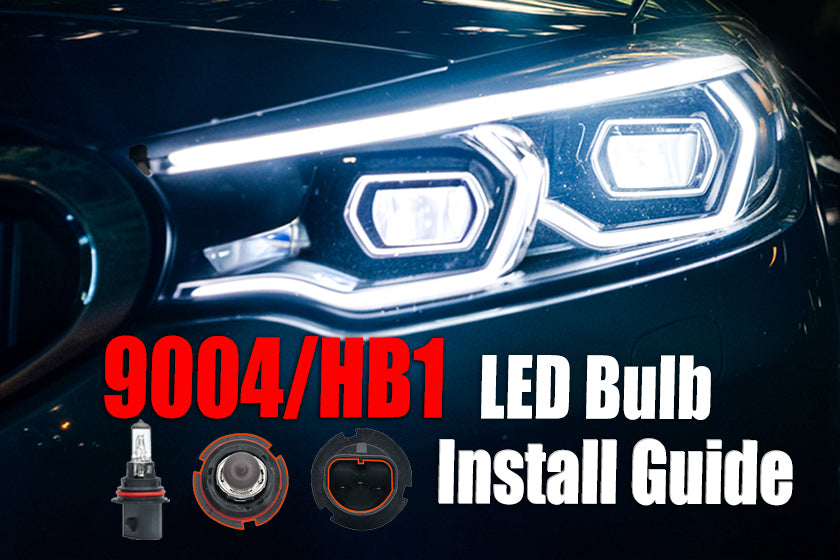
What the 9004 HB1 Halogen Bulb Looks Like?
What Are the Common Vehicle Models of 9004 HB1?
-Dodge Ram (1987-1993)
-Jeep Cherokee (1984-1996)
-Toyota Pickup (1987-1995)
How do I find the right LED bulb for my vehicle?
There are two methods to help you find the right light bulb:
1) Click here to go to our vehicle bulb finder, enter the year, model, etc. of your vehicle to get the right bulbs for your vehicle.
2) Please contact us at service@novsight.com and tell us the year and model of your vehicle, as well as the type of headlight you are interested in, our professional customer service team will get back to you as soon as possible.

Should You Upgrade to LED Headlights?
Energy Efficiency: LEDs use less power than halogen bulbs, which can help reduce strain on your vehicle’s electrical system.
Longevity: LED bulbs typically last much longer than halogen bulbs, reducing the frequency of replacements.
9004 HB1 Bulb Installation Tutorial
Tools You’ll Need:
A pair of gloves (to protect the bulb from oils on your skin)A screwdriver or socket wrench (depending on your vehicle’s headlight housing)
9004 HB1 replacement bulbs (halogen or LED)
Protective eyewear (optional but recommended)
Step-by-Step Installation Guide
Wear gloves to prevent skin oils from touching the glass of the bulb, which could cause it to overheat and shorten its lifespan.
Open the vehicle’s hood and locate the headlight housing. Depending on the make and model of your vehicle, you may need to remove screws, clips, or a cover to access the headlight assembly.
Twist the bulb base counterclockwise to release it from the socket. Carefully disconnect the wiring plug by pressing the clip and pulling it away from the bulb. Be gentle to avoid damaging the wires.
Align the new bulb’s prongs with the socket, and insert the bulb. Twist it clockwise until it locks into place securely. Reconnect the wiring harness, ensuring that it clicks into position.
Before reassembling the headlight housing, turn on the headlights to test the new 9004 HB1 LED install. Make sure both the low and high beams function correctly. If you are using LED bulbs, check for proper alignment and brightness.
Reassemble the Headlight Housing:
Once the bulb is properly installed and tested, replace any covers, screws, or clips that were removed during disassembly.
Points to Pay Attention To:
Avoid touching the bulb's glass:
If you're installing a halogen bulb, oils from your skin can cause hot spots on the glass, leading to premature failure.
Check for LED compatibility:
If upgrading to 9004 HB1 LED bulbs, ensure that your vehicle's electrical system supports LED technology.
Proper alignment:
Make sure the bulb is aligned correctly in the socket to avoid issues with beam direction or misfitting. For a more in-depth, visual demonstration, you can refer to this 9004 HB1 LED bulbs installation guide video, which covers each step of the installation process in detail.
Upgrading your headlights, whether it’s for better visibility or simply replacing a burnt-out bulb, can greatly enhance your driving experience. If your vehicle is still using the original 9004 HB1 OEM halogen bulbs, now may be the perfect time to consider an OEM halogen bulb update with modern LED technology.


Dejar un comentario
Todos los comentarios se revisan antes de su publicación.
Este sitio está protegido por hCaptcha y se aplican la Política de privacidad de hCaptcha y los Términos del servicio.