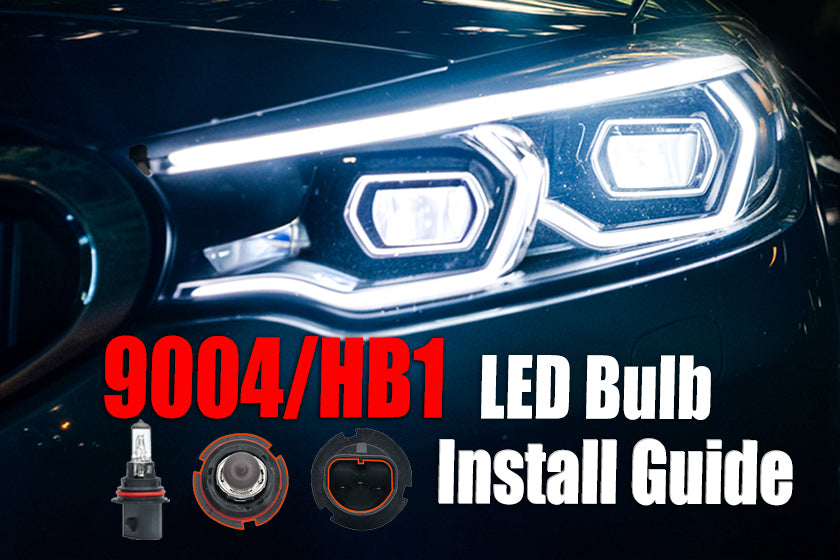
H7 Bulb Installation Tutorial
Table of Contents
Step-by-Step Guide for Installing H7 Halogen and LED Bulbs
Upgrading your vehicle's headlights or simply replacing a burnt-out bulb can significantly improve your driving experience, especially if you're switching from H7 halogen bulbs to H7 LED bulbs. In this tutorial, we’ll walk you through the entire installation process for H7 bulbs, covering both halogen and LED options, so you can confidently handle the task yourself. Whether you're performing an H7 OME halogen bulb update or upgrading to LED, we’ve got you covered.
What the H7 Halogen Bulb Looks Like?

The H7 halogen bulb is a single filament bulb commonly used for low-beam or high-beam headlights in many cars. It is distinguishable by its sleek metal base and two-pin connector. Unlike some other bulb types (such as the H4, which has three prongs for dual-beam functionality), the H7 is designed with just two pins, making it straightforward to connect and install.
The H7 bulb is also compact in design, allowing it to fit in a wide variety of headlight housings. The base is typically marked with alignment tabs to ensure the bulb is inserted correctly into the socket.
Common Vehicle Models Using H7 Bulbs
H7 bulbs are found in a wide range of vehicle models due to their reliability and efficient lighting. Here are some common vehicles that use H7 bulbs:
-Audi A3-BMW 3 Series-Mercedes-Benz C-Class-Ford Focus-Volkswagen Passat-Hyundai Elantra-Volvo XC90
These models often rely on H7 halogen bulbs for their headlights, and upgrading to H7 LED bulbs is a popular option for improving visibility and brightness.
How do I find the right LED bulb for my vehicle?
There are two methods to help you find the right light bulb:
1) Click here to go to our vehicle bulb finder, enter the year, model, etc. of your vehicle to get the right bulbs for your vehicle.
2) Please contact us at service@novsight.com and tell us the year and model of your vehicle, as well as the type of headlight you are interested in, our professional customer service team will get back to you as soon as possible.

H7 Bulb Installation Tutorial
Now, let’s get into the installation process. Whether you're installing H7 halogen bulbs or H7 LED bulbs, the steps are generally the same with some slight variations depending on the bulb type.
Tools Needed:
A pair of
H7 LED or Halogen bulbsGloves (to protect the bulbs from skin oils)
Screwdriver (depending on your vehicle’s headlight housing)
Microfiber cloth (to clean the bulb if necessary)
Step 1: Access the Headlight Housing
First, make sure your vehicle is turned off and the headlights are cool. Open the hood and locate the headlight assembly. Most vehicles will have a protective dust cover at the rear of the headlight housing that needs to be removed.
Remove the dust cover: This can usually be pulled off by hand, but if it’s secured with screws, you’ll need a screwdriver.
Step 2: Disconnect the Power Plug
The H7 bulb is connected to the vehicle’s electrical system through a two-pin plug. To disconnect it, gently pull the plug straight back, being careful not to tug too hard on the wires.
Tip: Make sure you note how the plug was connected to the old bulb, as you’ll need to reconnect the new one in the same way.
Step 3: Remove the Old Bulb
With the power plug disconnected, you can now remove the old H7 halogen bulb. The bulb is typically held in place by a metal spring clip or plastic locking mechanism. Press down on the clip to release the bulb from the socket.
Be careful not to touch the glass part of the
halogen bulb, as oils from your fingers can shorten its lifespan or cause it to overheat.
Step 4: Install the New H7 Bulb
Take your new H7 LED or halogen bulb and insert it into the socket. Make sure the alignment tabs on the base of the bulb fit correctly into the socket to ensure proper placement.
If installing an H7 LED bulb: Some LED bulbs come with an additional driver or heat sink. Ensure that the extra components fit within the headlight housing and are properly secured. You may also need to adjust the dust cover to accommodate the larger size of some
H7 LED bulbs.
Once the bulb is properly seated, secure it with the spring clip or locking mechanism and reconnect the two-pin power plug.
Step 5: Test the Bulb
After installing the bulb, turn on the headlights to test both the high and low beam functions (if applicable). Ensure the light is working correctly and that the beam pattern is properly aligned.
If the bulb isn’t lighting up, double-check the connections to make sure the power plug is securely attached.
Points to Pay Attention To
Always wear
gloves when handling halogen bulbs to prevent contamination from skin oils.
Make sure the
H7 LED bulbs or halogen bulbs are properly aligned in the headlight housing to avoid misdirected beams.
When upgrading to
H7 LED bulbs, ensure you follow any additional installation instructions provided by the manufacturer, especially regarding the fitment of LED drivers or heat sinks.
For some vehicles, you may need to adjust the
headlight alignment after installing the new bulbs to ensure proper light distribution on the road.


Dejar un comentario
Todos los comentarios se revisan antes de su publicación.
Este sitio está protegido por hCaptcha y se aplican la Política de privacidad de hCaptcha y los Términos del servicio.