

Car headlights after 5 to 6 years can start to look foggy usually as the plastic lens oxidizes over time. A foggy headlight lens does not require complete replacement but can easily be fixed with a few simple steps all by yourself.
Why Do Car Headlights Get Foggy Overtime?
Car headlights are made up of a plastic called polycarbonate that can deteriorate when incident with UV rays. As sunlight is also a great source of UV rays, these headlight lens do need protection from them. Car manufacturers coat headlight lens with UV rays’ protection films, but it usually lasts up to 5-6 years before fading off completely.
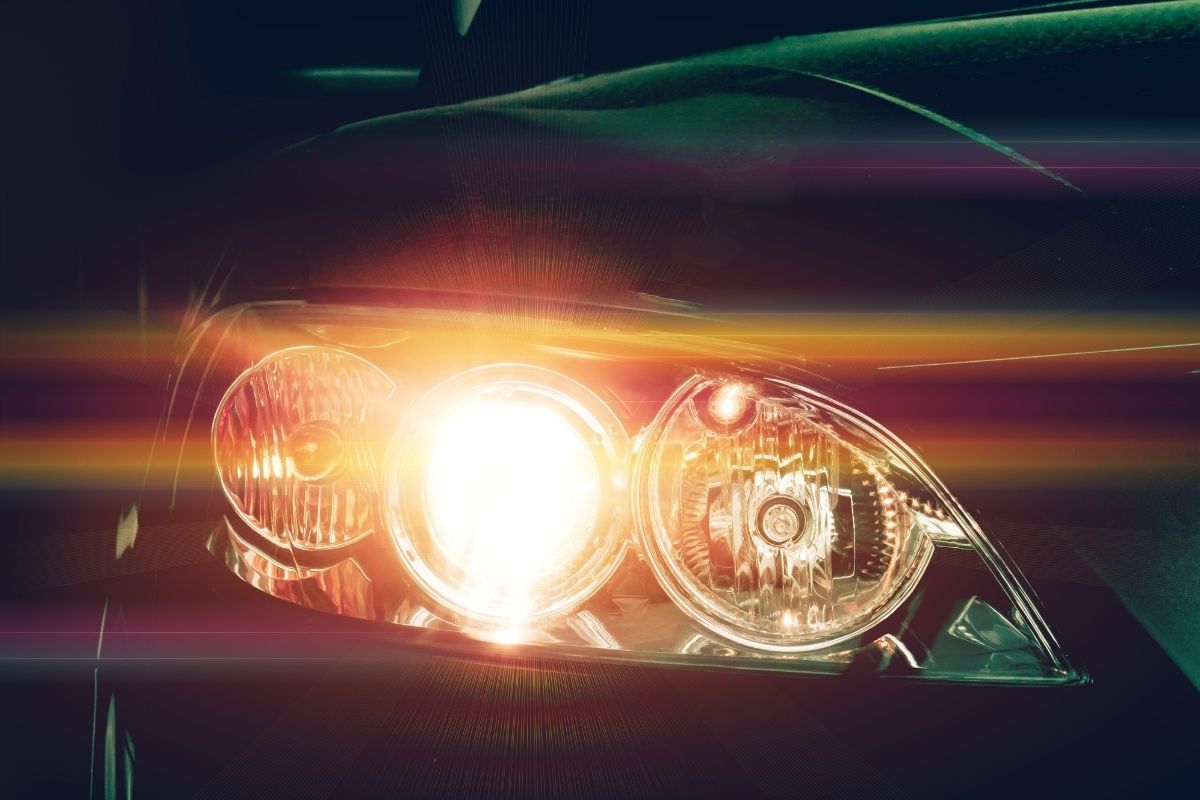
Once the protection film has faded the polycarbonate headlights start oxidizing, yellowing, and degenerating on exposure to UV rays. A new yellow colored film starts to form over the headlight lens with the oxidized plastic. Not only this yellow and hazy film looks bad on your headlights, but it also obstructs the light from the bulb to illuminate the road ahead.
Headlight Restoration Steps
Headlight restoration is a very simple process that can be done by yourself at home once you have all the required tools and materials in 20-30 minutes. Restoration mainly involves 3 main steps that are
- Taking the oxidized layer off the headlight with abrasion.
- Compounding and polishing.
- Reapplying a protective layer.
For restoring your headlight, you would require the following items at least
- Cleaning Cloth along with soapy water
- Sanding paper (600-3000 grit) with a foam pad
- Car Polish and Compound
- Headlight Protective Coating Or a film wrap
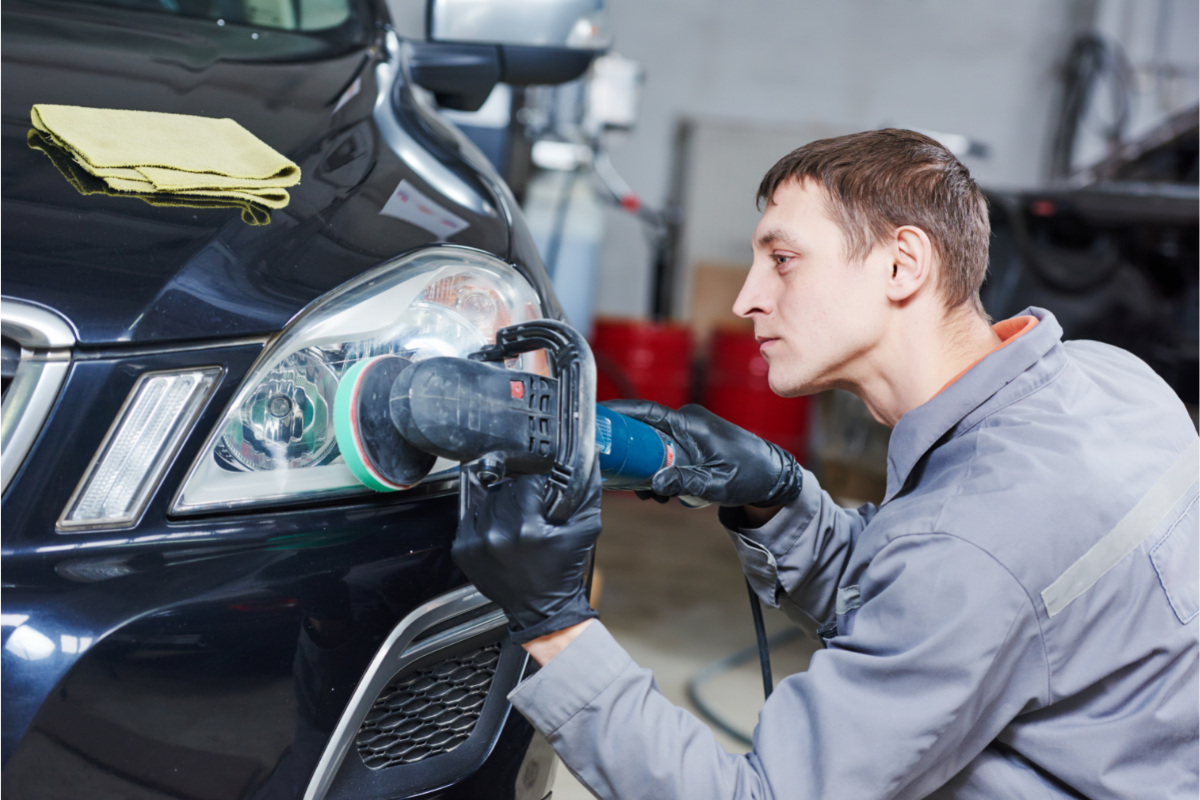
Step 1: Taking the oxidized layer off the headlight Lens
Start the process by rinsing your headlight to remove any dirt and grime off the surface with some soapy water followed by a wipe with a microfiber cloth. Now to remove the foggy yellow layer off the surface off your headlights, take sanding paper starting with a coarse one (600 grit) and wrap it around a foam pad to maintain an even pressure. Start wet sanding with the sandpaper on the headlight surface with water sprays in between.
Your headlight lens will get a lot foggier after sanding, but you do not need to worry about that. The uniform haze which appears after sanding is from the micro scratches caused by the process that we will later take out in the compounding. After covering the whole headlight thoroughly, again rinse the headlight and wipe it with a microfiber cloth. Now repeat the entire process of sanding but with finer sandpapers successively. Move your way up from 600 to 1500 to 3000 grit to prepare the headlight for compounding.
Sanding is only required for headlights that have a very visible foggy yellow layer on top of them. If you notice that your headlight is in a better condition with a slight haze on the lens, then you can skip sanding and directly move onto the next step.
Step 2: Compounding and Polishing
After sanding you are left with a fine layer of very uniform haze throughout the surface of the lens. These micro scratches are now to be buffed out. For this step, you can either apply compound on the headlight lens with a microfiber cloth or with a drill and a wool pad. Take a decent amount of compound onto the cloth and rub it while keeping a uniform pressure, in repeated strokes all over the headlight lens.
Try horizontal strokes at first followed by vertical strokes and then some circular strokes all over the headlight surface. Make sure you cover the complete headlight in each pass. If you are applying the compound with a drill and a wool pad, try to keep the pad always moving to avoid excessive heat buildup and burns in a particular spot.
After buffing the headlights with the compound your headlights should return to their factory condition, and to make them pop even more you can apply polish afterward in the same manner as the compound but with a clean microfiber cloth.
After you are done with compounding and polishing, rinse the headlight with some soapy water or glint and wipe it off with a microfiber towel.
Step 3: Reapplying a protective layer
Now when your headlights are clear and shiny again, you should take measures to protect the polycarbonate surface of the lens from getting damaged by the UV rays again as it is better to prevent something from happening then to fix it later. For this purpose, there are a variety of solutions each with its trade-off in cost, retention time and ease of application.
One of the most advisable protective solution is applying a headlight protection film onto the headlight lens. These plastic films can be applied onto the headlight with a spray bottle, a wrapping squeegee, and a heat gun. These films are designed to last for around five years. And the best part of using a protective film like this is that when it gets oxidized, you can simply peel it off instead of going through the above steps and apply a new one. With this method, the plastic on your headlight is not consumed with abrasion on each restoration.
Another suitable method to protect the headlights from UV rays is by applying a headlight coating from a well-known detailing brand like Meguiar’s etc. These protective coatings come in a spray bottle and can be applied easily by giving your headlight 2-3 light coats after cleaning it thoroughly. These generally protective coatings generally remain intact for a year or two, and it’s advisable to reapply it once every year to protect the headlights from oxidizing back again.
Paint clear coats are often used by mechanics as a protective layer on top of headlights. Although they can last for a year or two and protect the headlight lens from oxidizing, but clear coat is not meant to be used on headlights for a reason. With a clear coat applied onto the surface of a headlight lens light can easily distort due to refraction caused by the significant change in the refractive index of polycarbonate and the clear coat.
By following the above-mentioned simple steps, you can bring back the shine on your headlights again.
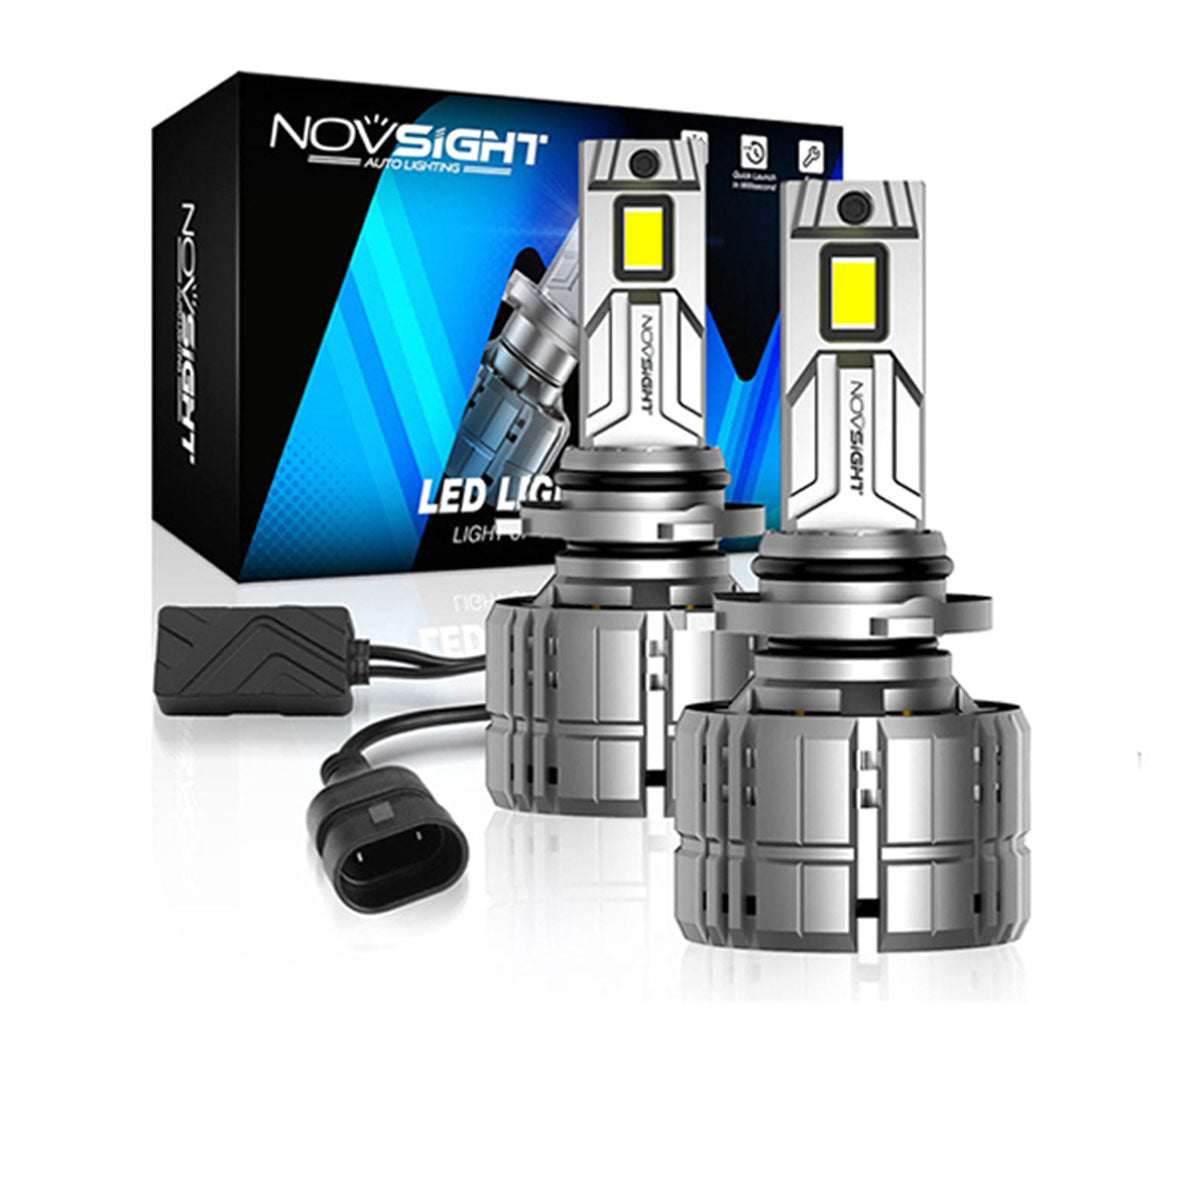
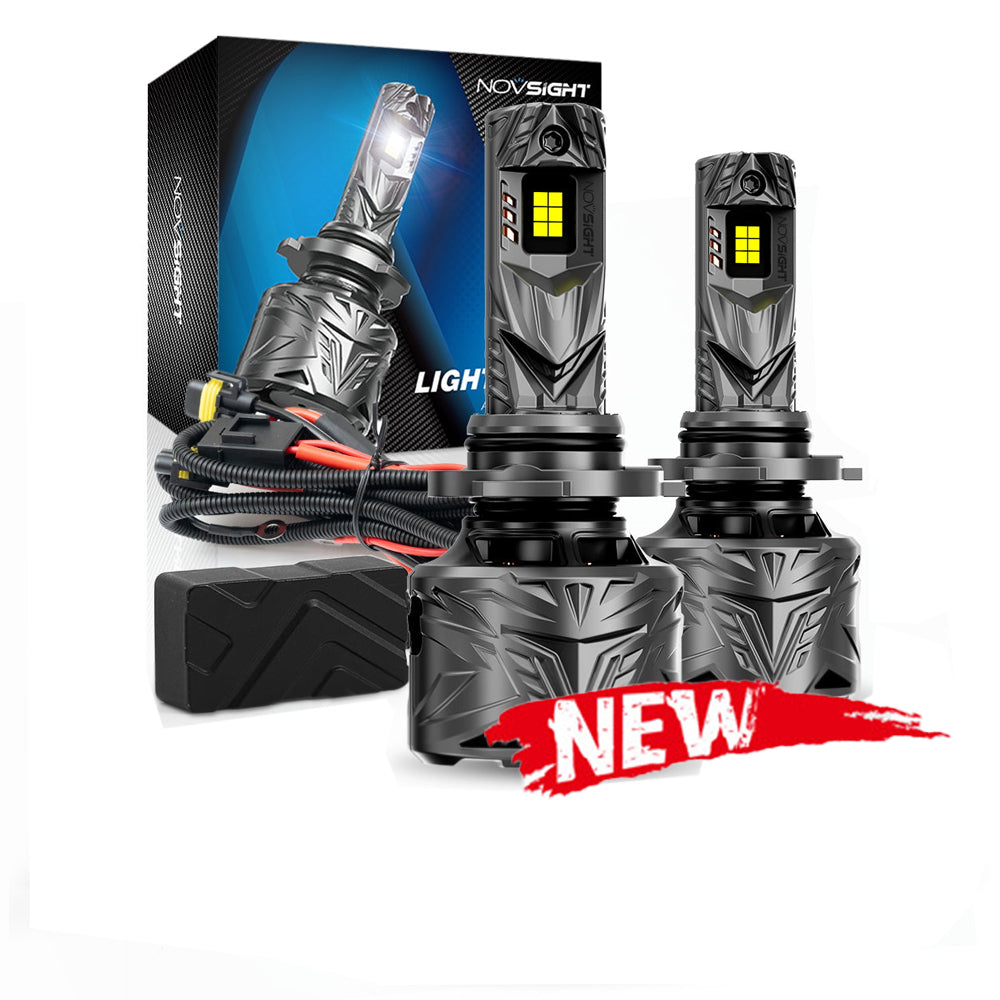
Some people need to upgrade their car lights, using led bulbs like Novsight or higher wattage light bulbs to improve the brightness and headlight performance.

Leave a comment
All comments are moderated before being published.
This site is protected by hCaptcha and the hCaptcha Privacy Policy and Terms of Service apply.